How to Clean an Infected Belly Button: A Clinical Mechanical Protocol
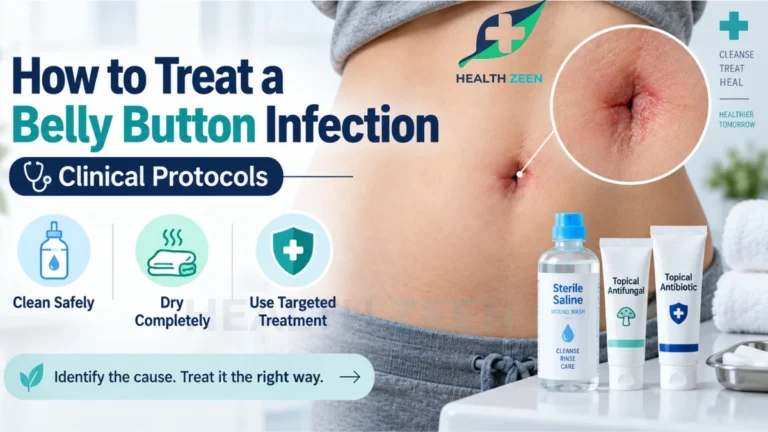
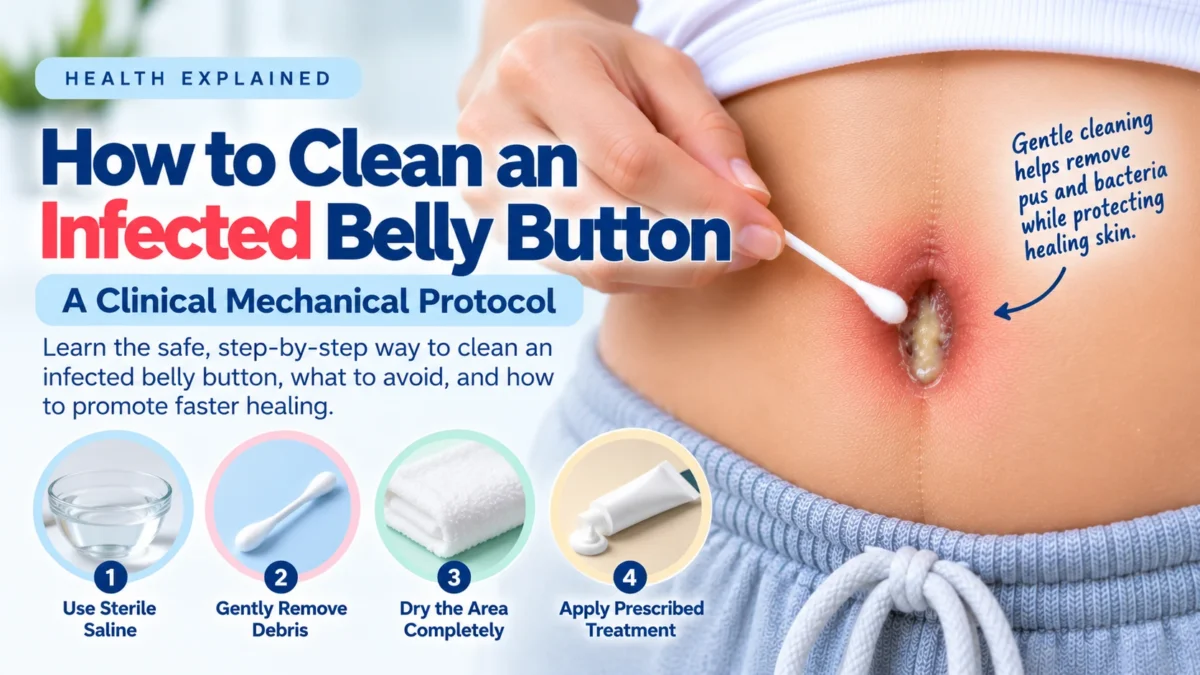
When your umbilicus is actively battling a bacterial or fungal invasion, your standard daily hygiene routine is no longer sufficient. Scrubbing an actively infected belly button with a rough washcloth and standard shower gel can cause severe mechanical damage to the already compromised epidermal barrier. To safely clean an infected navel without worsening the condition, you must transition from casual washing to a strict clinical wound care protocol focused on sterile irrigation, gentle exudate removal, and absolute moisture desiccation.
The Danger of Cytotoxic Chemicals
Before initiating any mechanical cleaning protocol, it is critical to understand what you must never put inside an infected navel. Many patients instinctively reach for harsh household antiseptics, assuming that stronger chemicals will kill the infection faster.
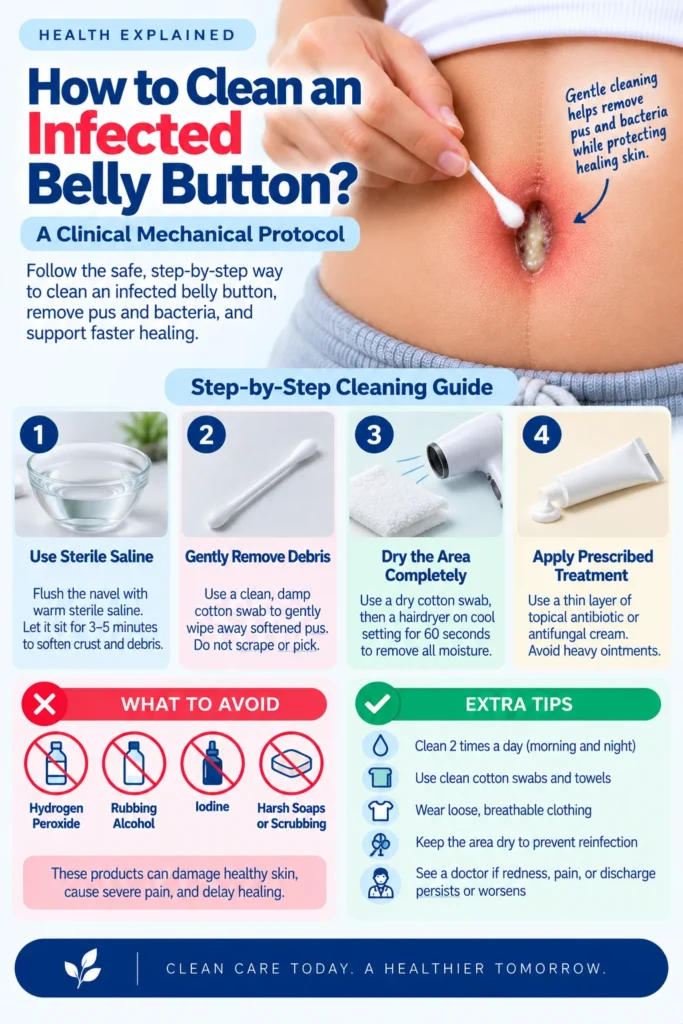
You must strictly avoid pouring hydrogen peroxide, rubbing alcohol, or iodine directly into an infected belly button. These solutions are highly cytotoxic. This means they do not just kill the invading bacteria; they instantly destroy your own healthy, living skin cells and completely strip away the delicate granulation tissue attempting to heal the wound. Applying rubbing alcohol to an inflamed navel will cause excruciating pain and severely delay the biological healing process, ultimately allowing the infection to persist much longer.
Step 1: Sterile Saline Irrigation
The safest and most clinically effective fluid for cleaning an infected wound is sterile isotonic saline. Saline perfectly mimics the natural salinity of human blood and tears, meaning it will safely wash away bacteria and loose debris without causing any cellular damage or stinging pain.
To begin the cleaning process, lie flat on your back to turn your navel into a natural anatomical basin. If you do not have pre-packaged sterile saline from a pharmacy, you can easily make a clinical-grade solution at home by dissolving one teaspoon of non-iodized salt into one cup of warm, recently boiled water. Using a clean medicine dropper or a small syringe, gently flood the belly button cavity with the warm saline. Allow this fluid to sit inside the navel for three to five minutes. This soaking period is critical, as it safely softens and dissolves the hardened, crusty purulent exudate that is cementing itself to the edges of your umbilical scar.
Step 2: Gentle Mechanical Debridement
Once the hardened pus and biological debris have been thoroughly softened by the saline soak, you can begin the physical removal process, clinically known as mechanical debridement.
Take a fresh, clean cotton swab and dip it in the saline solution so that the cotton is damp, not dry. A dry cotton swab can easily snag on raw tissue and leave microscopic cotton fibers trapped inside the wound. Very gently swab the interior walls and deep crevices of the belly button to lift away the softened yellow crust and weeping pus. You must never scrape, pick, or aggressively rub the skin. If a piece of crust does not easily wipe away with a gentle sweep, leave it alone. Forcing it off will tear the underlying skin and trigger fresh bleeding. Use as many fresh cotton swabs as necessary until the cavity appears visibly free of loose debris.
Step 3: Absolute Moisture Desiccation
The most crucial step in cleaning an infected belly button is the final drying phase. Fungal yeast and anaerobic bacteria absolutely require a humid, damp environment to multiply. If you leave even a microscopic drop of saline or tap water inside the deep folds of your navel, the infection will immediately rebound.
After you have removed all the exudate, take a completely dry cotton swab and gently press it into the deepest corners of the navel to absorb the remaining saline. Do not rub; simply press and lift. To achieve absolute moisture desiccation, many dermatologists recommend using a hairdryer on the lowest, coolest setting. Hold the hairdryer several inches away from your stomach and direct the cool air into the belly button for sixty seconds. This ensures that all microscopic traces of moisture are entirely evaporated, leaving the cavity bone dry and biologically inhospitable to pathogens.
Step 4: Applying Clinical Treatments
Only after the belly button is perfectly clean and absolutely dry should you apply any prescribed medical treatments.
If your physician has prescribed a topical antibacterial ointment like mupirocin or an antifungal cream like clotrimazole, apply a very thin, almost translucent layer using a fresh cotton swab. Never pack the belly button full of heavy, greasy ointments. A massive glob of ointment will physically block oxygen from reaching the wound and artificially trap heat, essentially recreating the exact humid environment the infection needs to thrive.
Frequently Asked Questions
You should clean an infected belly button using a strict mechanical protocol of sterile saline irrigation. Soak the navel with warm saline to soften the hardened pus, gently wipe away the debris with a damp cotton swab, and then thoroughly dry the cavity using a cool hairdryer to prevent moisture buildup.
No, it is highly dangerous to use hydrogen peroxide on an infected belly button. Hydrogen peroxide is cytotoxic, meaning it violently destroys your body's healthy, newly forming skin cells. This severe chemical damage halts the natural healing process and leaves the raw tissue highly vulnerable to deeper infections.
You must never use rubbing alcohol inside an infected navel. Alcohol causes severe chemical burns to raw, compromised skin. It strips away the epidermal barrier, triggers agonizing pain, and severely dries out the surrounding healthy tissue, which frequently leads to secondary contact dermatitis.
To safely remove hard, dried pus from an infection, you must never pick at it with your fingernails. Lie flat and fill the navel with warm saline solution for five minutes. This safely rehydrates and softens the crust, allowing you to gently wipe it away with a damp cotton swab without tearing the skin.
Drying is the most critical step because microbial pathogens, specifically Candida yeast and Staphylococcus bacteria, cannot reproduce without severe moisture. If you leave the navel damp after cleaning it, you are actively providing the exact environmental conditions the infection needs to survive and spread.
While you can let clean shower water gently run over the stomach, you should not aggressively scrub an infected navel with a loofah, washcloth, or harsh scented body wash. These products contain chemical fragrances that will severely irritate the infection, and the rough fabric will mechanically tear the raw skin.
In most cases, you should not cover an infected belly button with a tight bandage. The umbilicus needs to remain open to the air to stay completely dry. Taping a bandage over the area traps body heat and sweat inside the cavity, accelerating bacterial growth and worsening skin maceration.
You should typically perform the saline cleaning protocol two times a day, once in the morning and once before bed. Cleaning the area more than twice a day can over-manipulate the delicate healing tissue, causing unnecessary mechanical irritation that delays epidermal repair.
The best and safest homemade cleaning solution is isotonic saline. You can easily create this by dissolving exactly one level teaspoon of plain, non-iodized table salt into one standard cup of warm water that has been boiled for sterilization.
You should continue the gentle saline cleaning and desiccation protocol until all redness, swelling, and purulent discharge have entirely resolved. Once the skin returns to its normal color and texture, you can slowly transition back to gently washing the area with standard mild soap and water during your normal shower routine.
Conclusion
Cleaning an infected belly button is a delicate clinical procedure that requires transitioning from aggressive scrubbing to a targeted, gentle wound care protocol. The primary goal is to safely remove pathological exudate and bacterial colonies without causing further mechanical or chemical destruction to the already compromised umbilical tissue. By strictly avoiding cytotoxic chemicals like rubbing alcohol and hydrogen peroxide, and instead relying on the gentle, tissue-safe properties of sterile saline irrigation, you protect your healing epidermal cells. The absolute most critical element of this protocol is complete desiccation; by ensuring the cavity is bone dry after every cleaning, you physically eradicate the humid environment that pathogens require to survive. Through careful mechanical debridement, meticulous drying techniques, and the proper application of prescribed topical treatments, you can rapidly clear the infection and restore the structural integrity of your navel.
Disclaimer
This blog is for informational and educational purposes only, and does not intend to substitute any professional medical advice or consultation. For any health related concerns, please consult with your physician, or call 911.